Quick start guide
Hardware requirements
- Tower system for Kinetis K70F120M (with TWR-SER expansion)
- Mini USB type-B cable
- Silica BrooklynBoard
- PC with at least one RS232 serial port and terminal software (two serial port for MAX3232 emulation)
- RS232 DB9 serial cable (modem type)
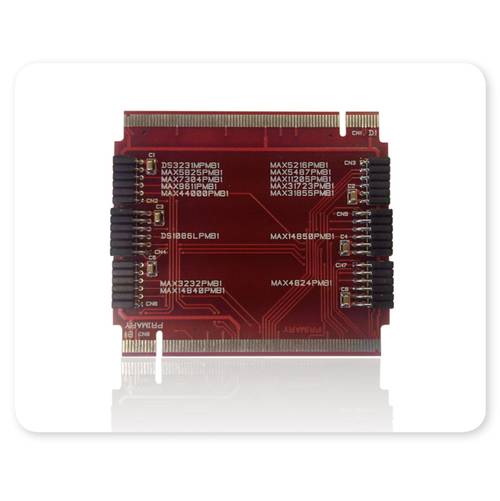
- Maxim Analog Essential Collection
Software requirements
- CodeWarrior MCU v10.3 Special Edition (download here).
- Brooklyn Board application firmware for TWR-K70F120M system (download here ....)
Hardware setup
- Assemble tower system TWR-K70F120M and Brooklin Board as in figure below.
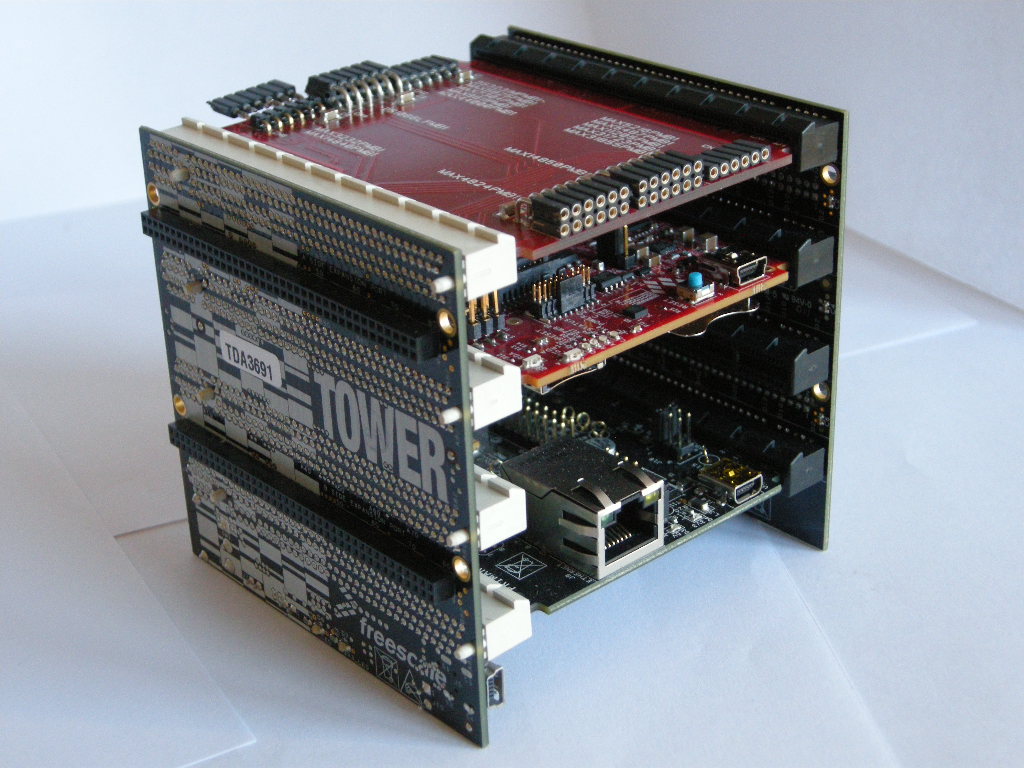
- Plug a Pmod Device (i.e. DS3231M Real Time Clock) inside properly connector.
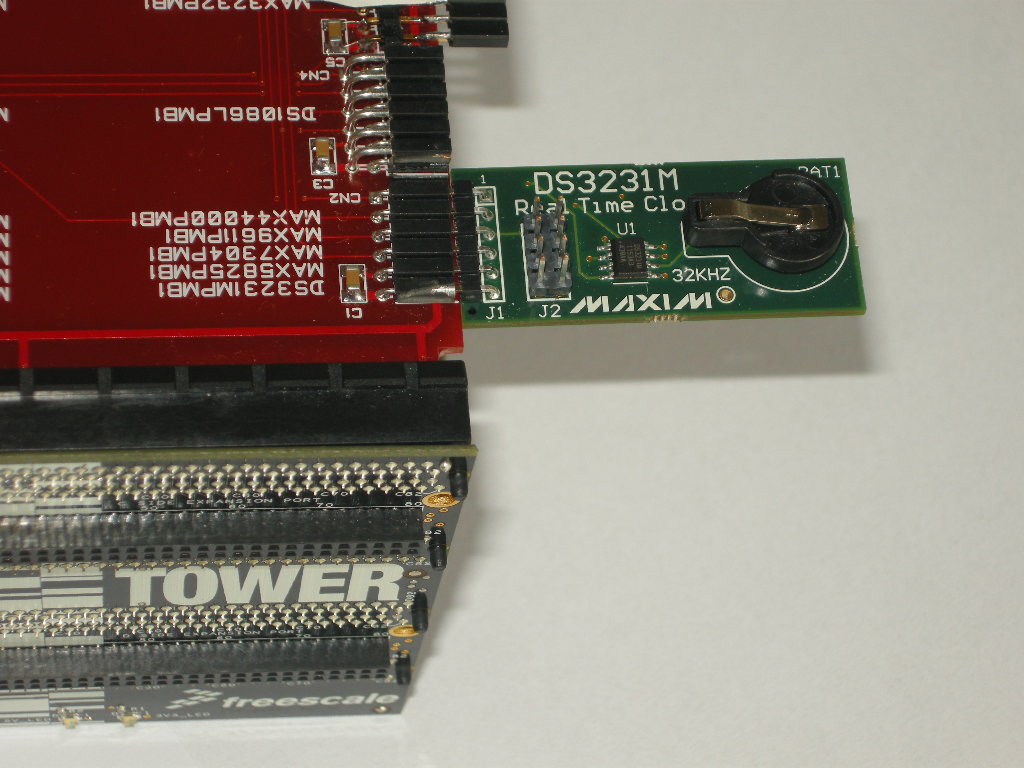
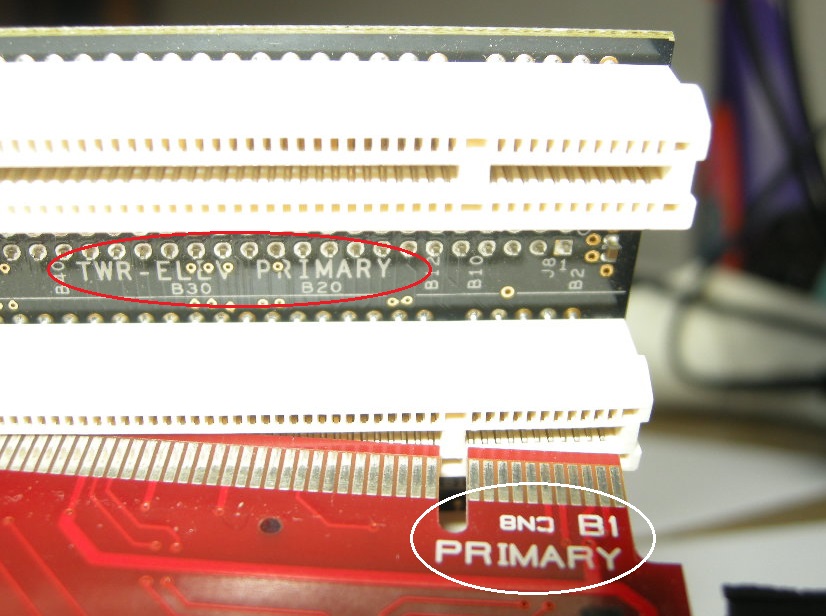
–> Be careful to see device reference next to connector. Each connector is designed for one or more devices and will only accept dedicated modules.
- Plug Mini USB type-B cable into Cpu Board plug and connect to PC with Codewarrior. TWR power led will on.
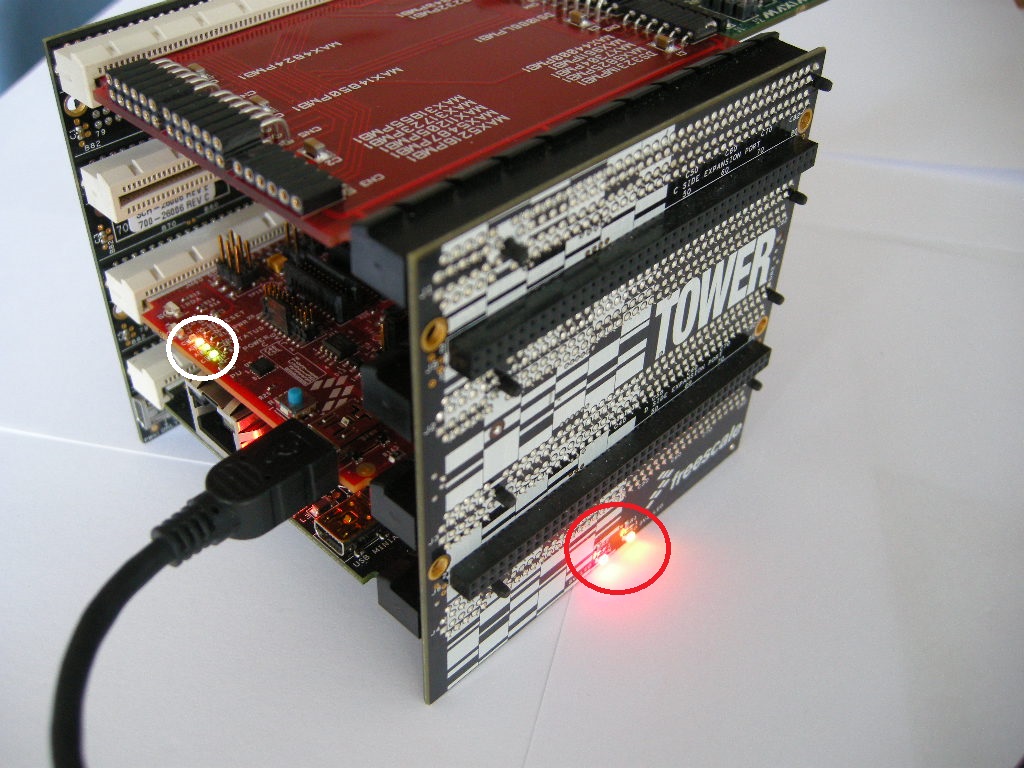
- If you see device tab, you will find OSBDM/OSJTAG debug port. If it doesn’t occour, unplug USB cable, start Codewarrior and then plug USB cable. Tower system will be found and OSBDM/OSJTAG driver will be loaded. Close Codewarrior suite.

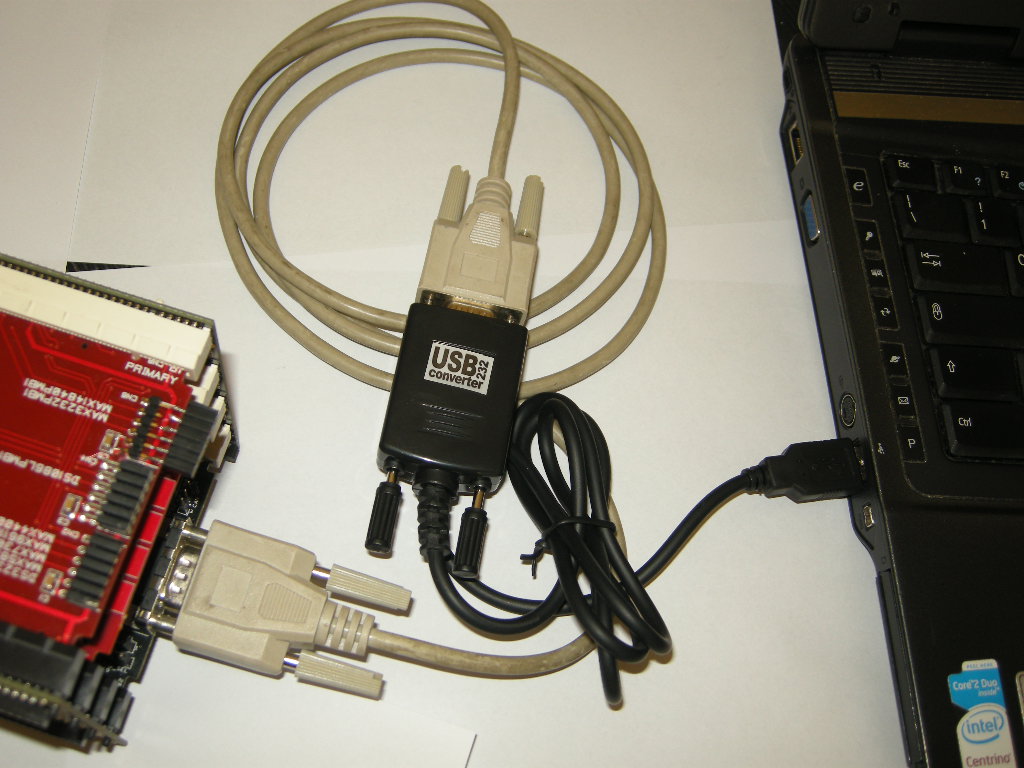
- plug the standard serial DB9 cable into serial connector on Tower System
- connect serial cable to terminal PC (equipped with terminal SW)
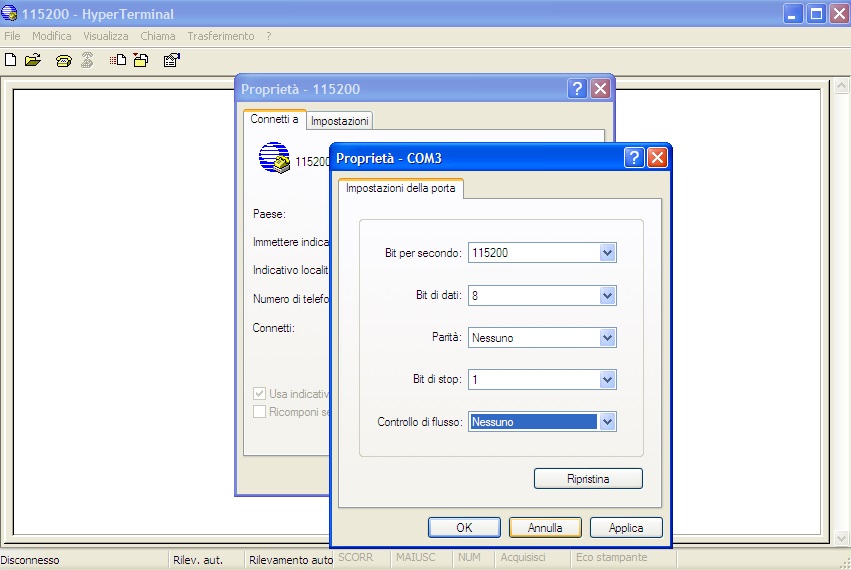
- On your terminal PC setup COMx parameter:
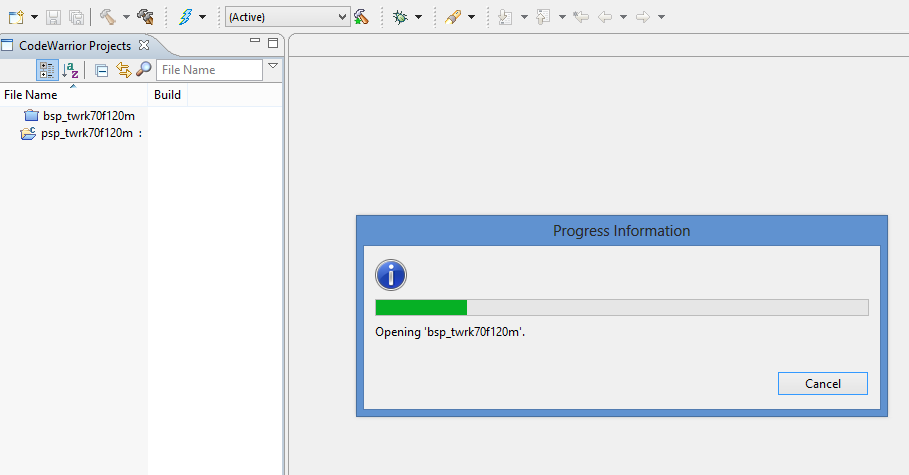
Now you are ready for install FW project.
Brooklyn Board MQX FW setup
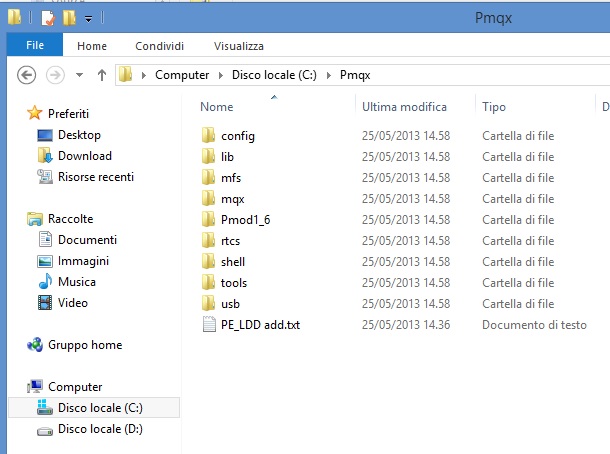
- In the root of your HDD C:\ create new folder named “Pmqx”.
Important
Pay attention that the pathname is case-sensitive

- Unzip all files from Pmod_MQX.zip into the folder C:\Pmqx just created
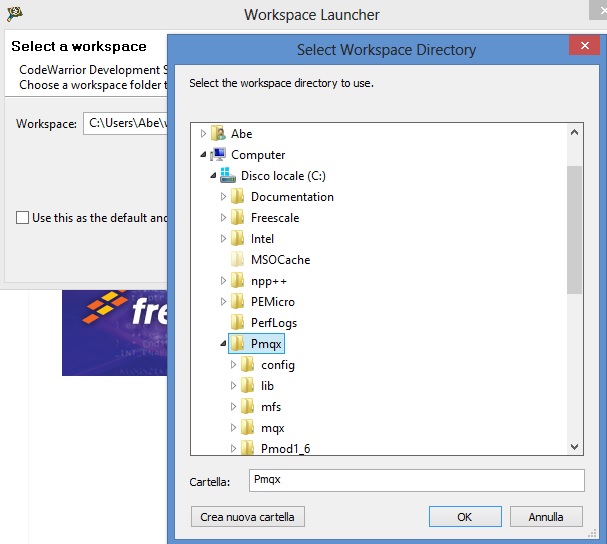
- If you have already opened Codewarrior, exit and restart it. The “Workspace launcher” tab will open. Clik on “brouse” button.
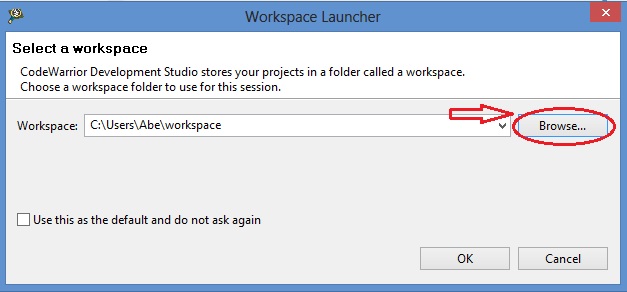
- navigate and select C:\Pmqx as workspace, then click OK
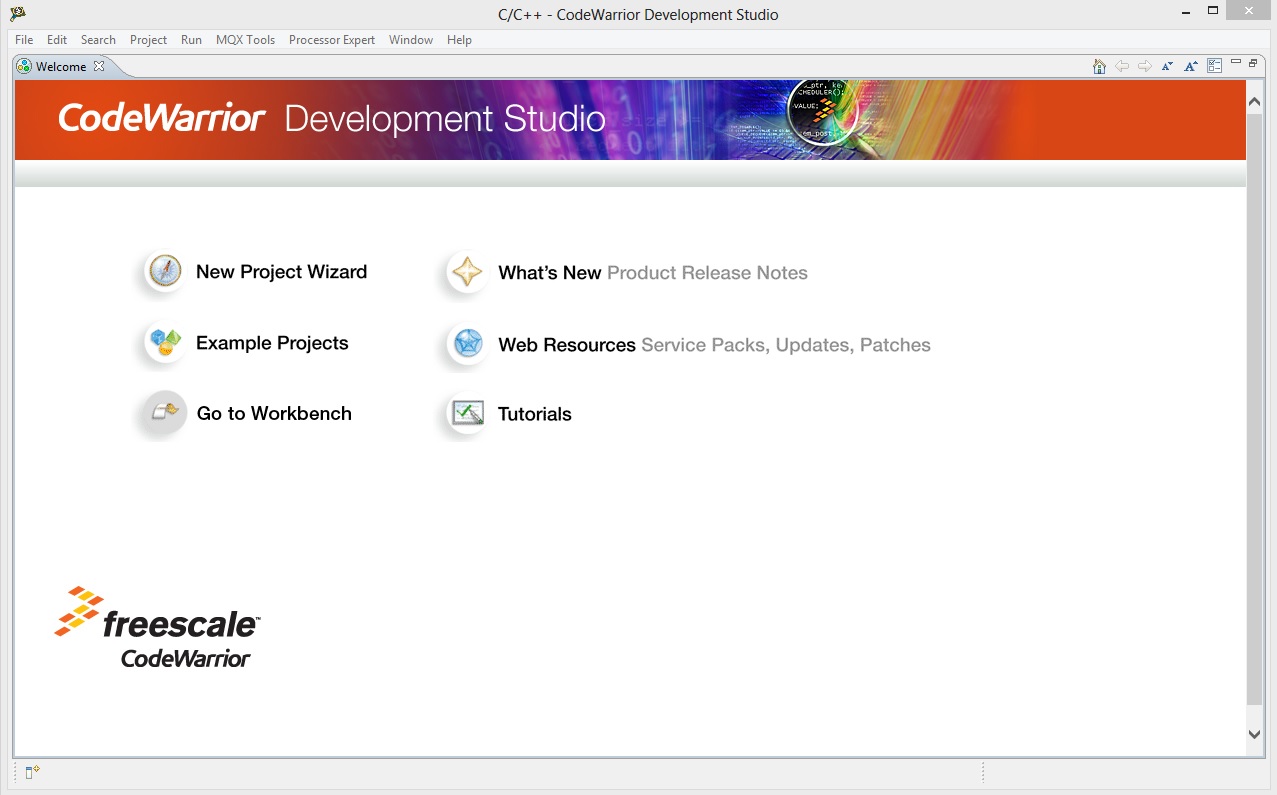
Now we could see the welcome window of Codewarrior Developement Suite
maybe will open firewall popup as below
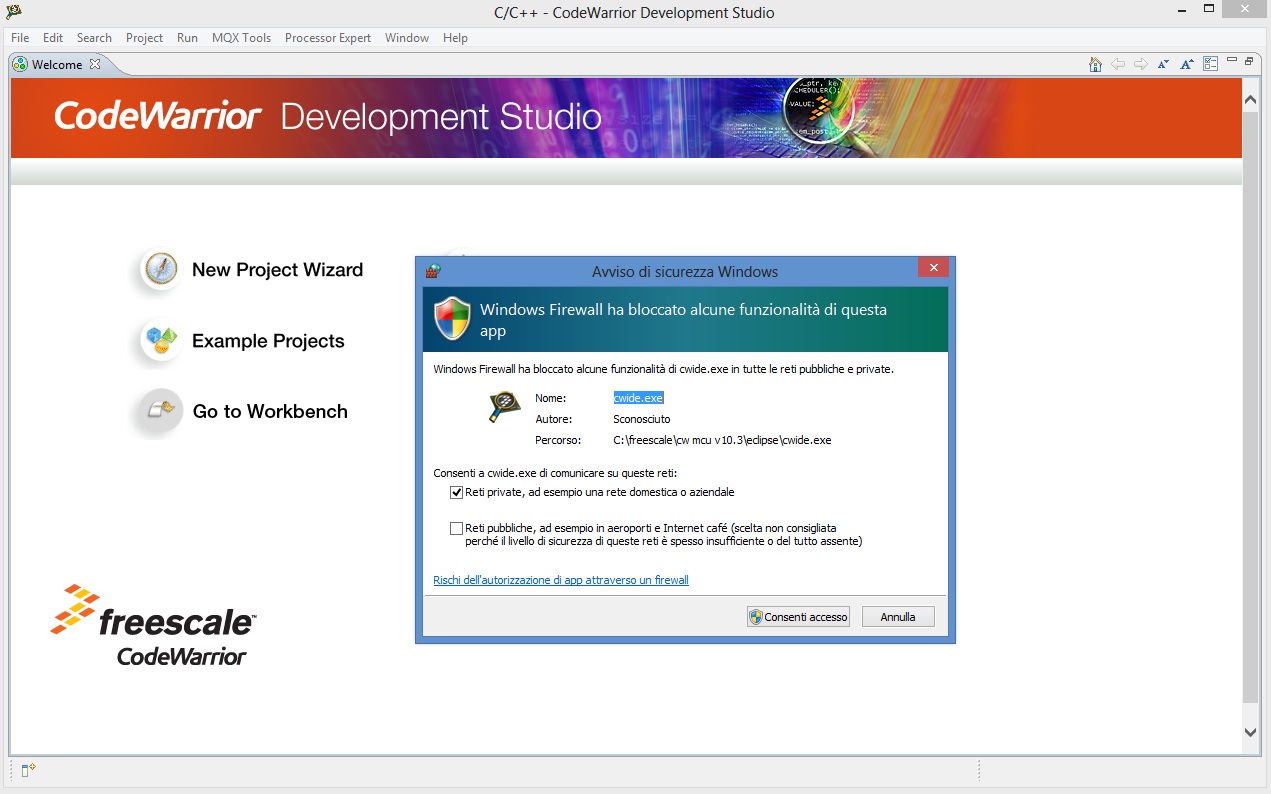
if yes, left-clik on enable access and proceed
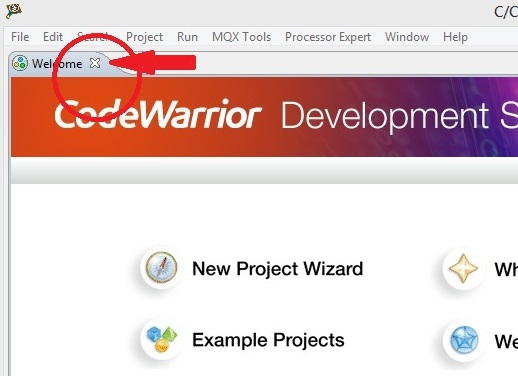
- close the welcome window by clicking ‘X‘ in the Welcome tab
Now we can see the Codewarrior main window
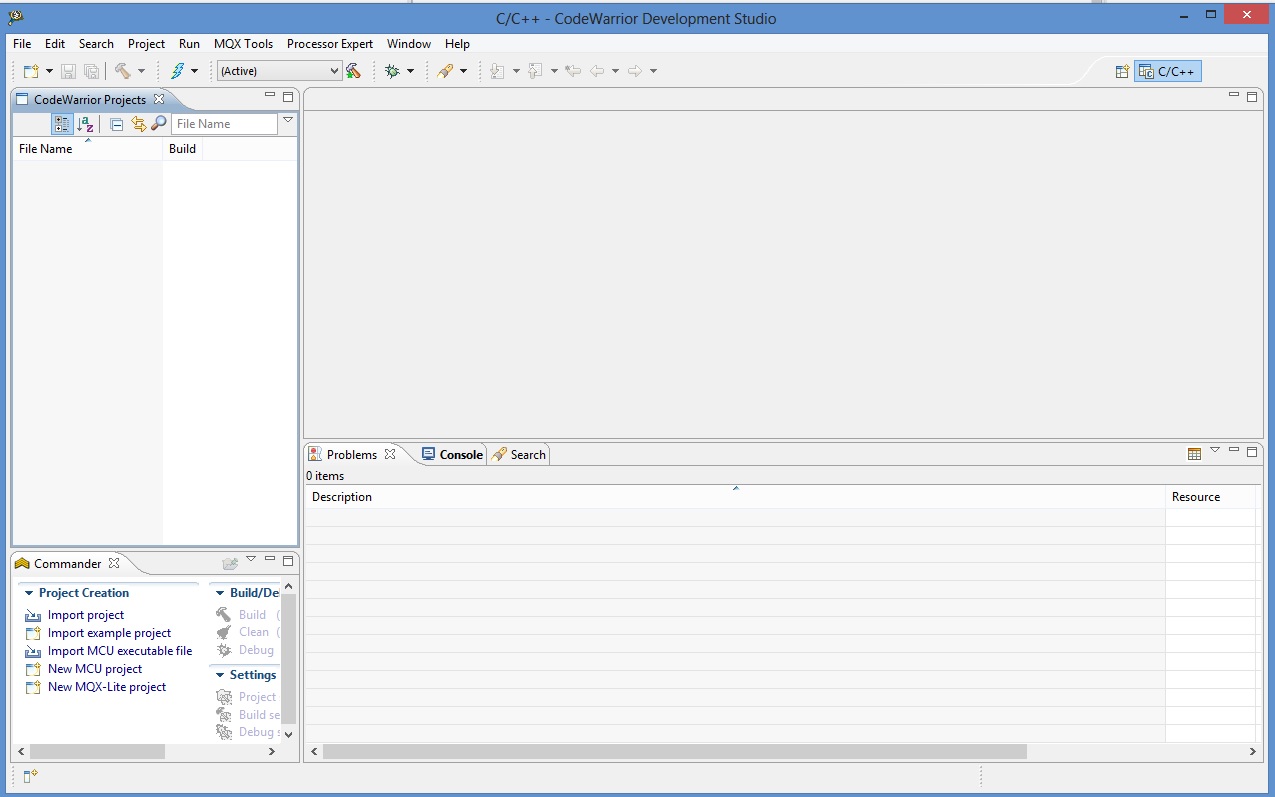
Codewarrior is ready to setup MQX project
IMPORTING AND BUILDING MQX LIBRARY
- Navigate to C\Pmqx\config\twrk70f120m\cw10 and drag the file twrk70f120m.wsd into Codewarrior Project window
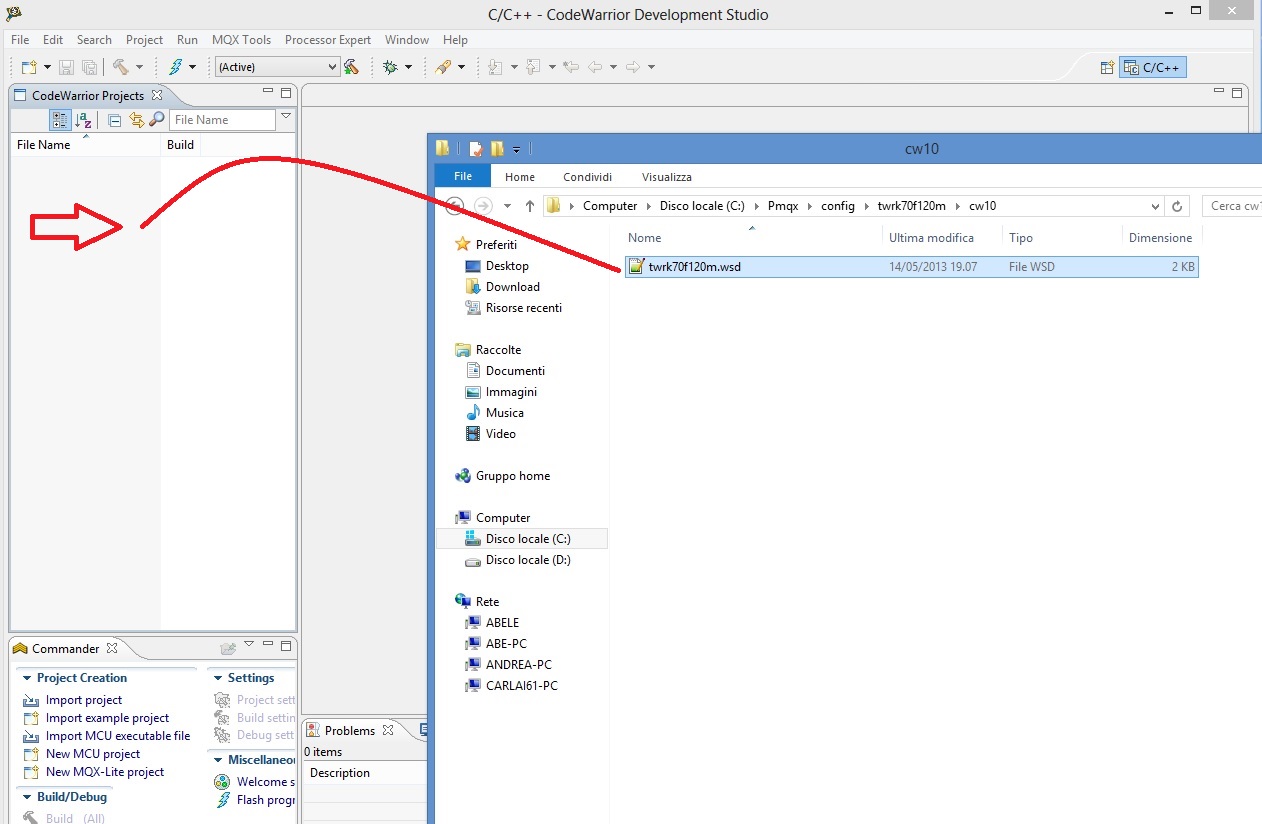
BSP and PSP library (needed for this project) will be loaded automatically
Now you can see library in Project Window.
BUILDING MQX LIBRARY
- Click on hammer icon (with green star) red-circled as in figure below
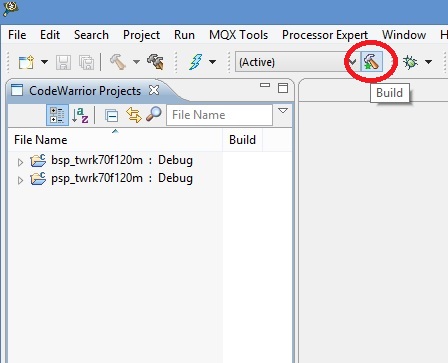
- BSP and PSP library are now ready for the project
IMPORTING Pmod1_6 FIRMWARE
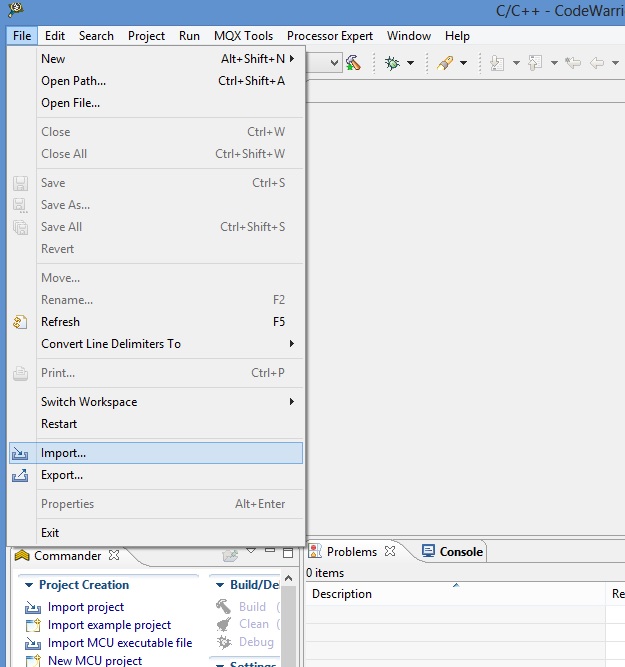
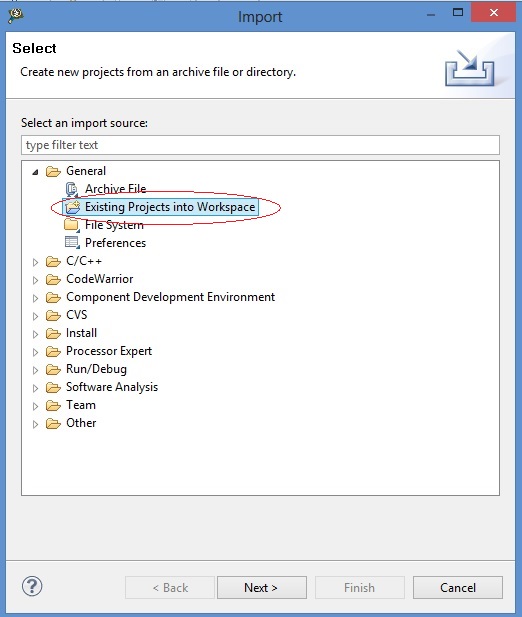
- Select File –> Import and click
- in the next tab select “Existing Project into Workspace” and click “NEXT”
- in the next window make the following step
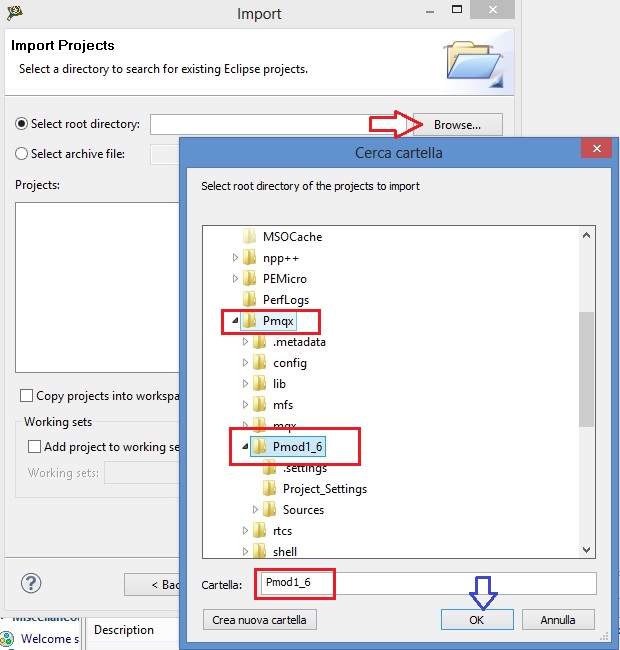
- select checkbox “Pmod1_6(C:\Pmqx\Pmod1_6)
- click “Finish”
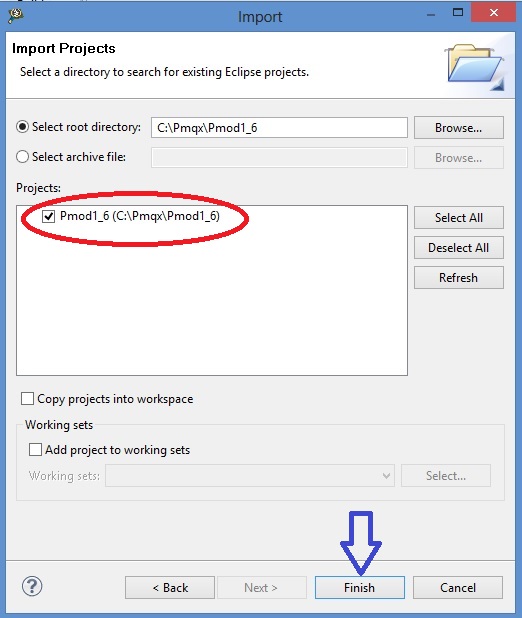
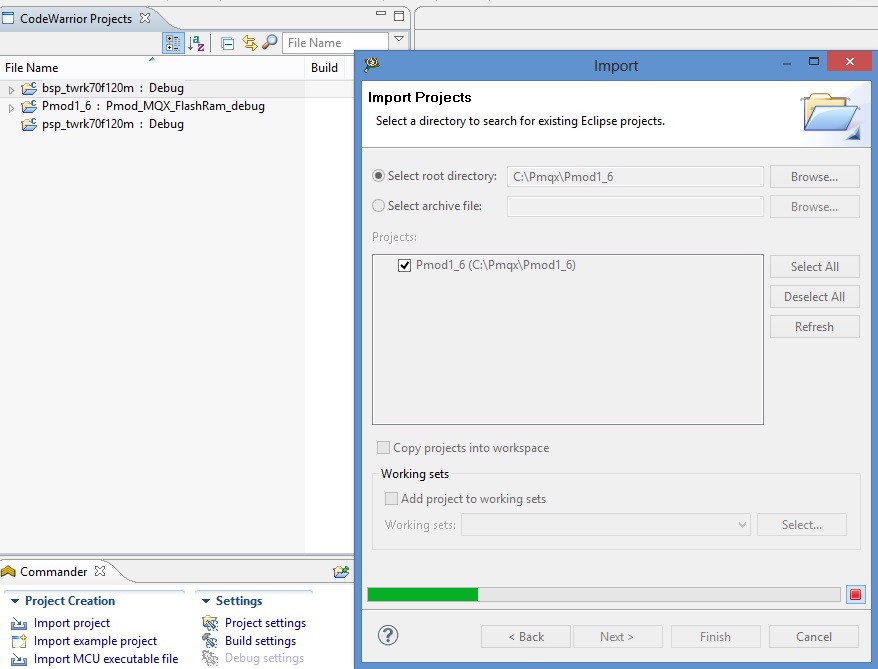
The firmware Pmod1_6 will be imported
BUILDING Pmod1_6 FIRMWARE
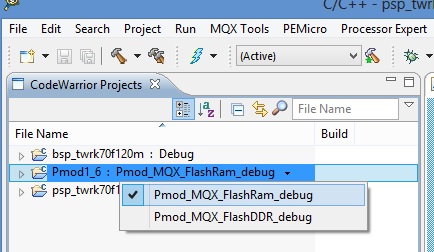
- see Codewarrior Project tab and select the project “Pmod1_6”, move mouse cursor on the right side an arrow will appear. Click on arrow and a popup menu will open. Check “Pmod_MQX_FlashRam_debug” and click over
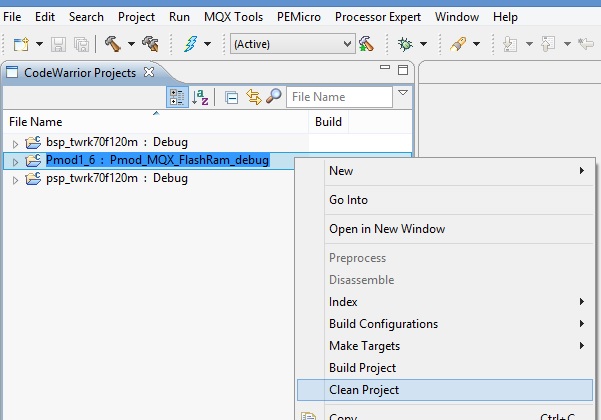
- select “Pmod1_6” project and right click over, select “Clean Project” and click
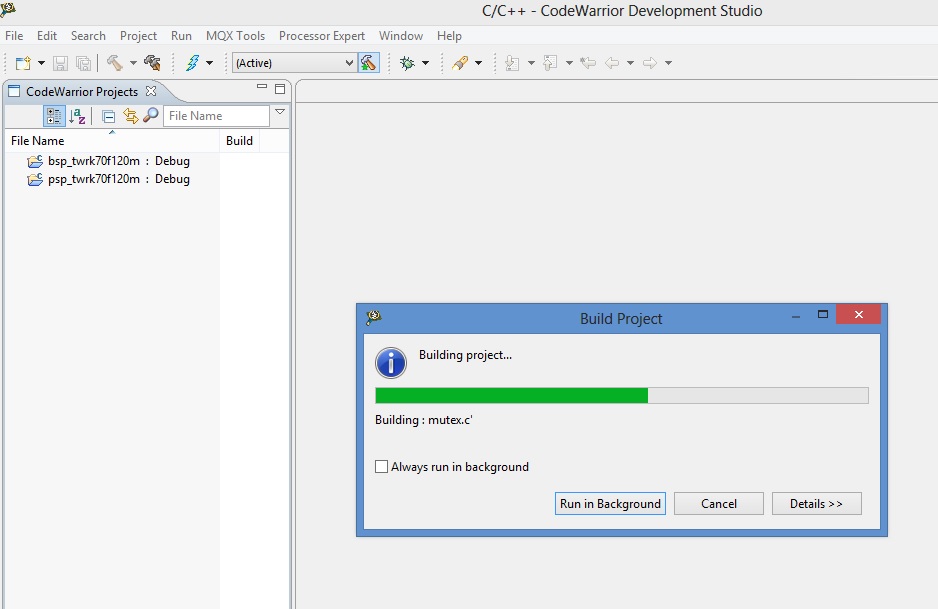
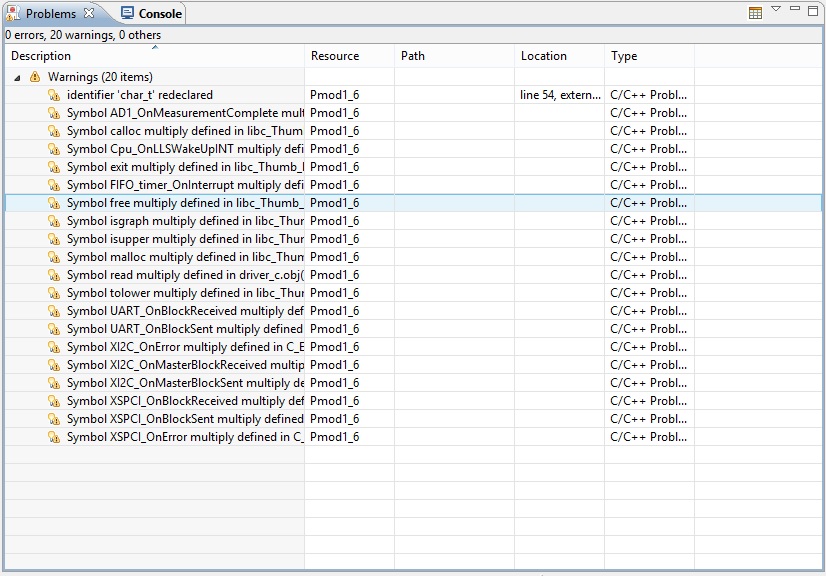
when process finish, click on single-hammer icon or righ-click over the project and select “build” to build entire project

See the “problems” tab. There are 20 warnings because of file C_Events.c has same function as Events.c in BSP library. This is normally in MQX and doesn’t make trouble
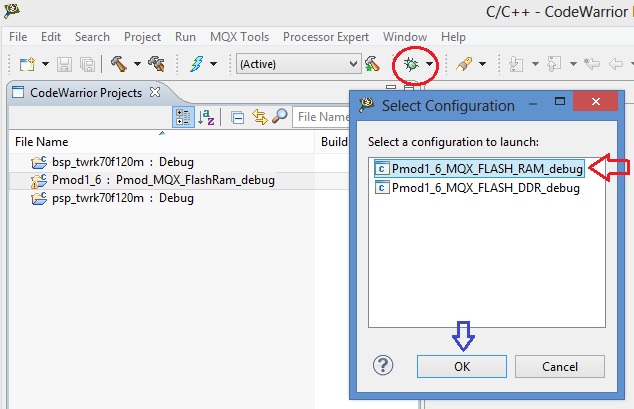
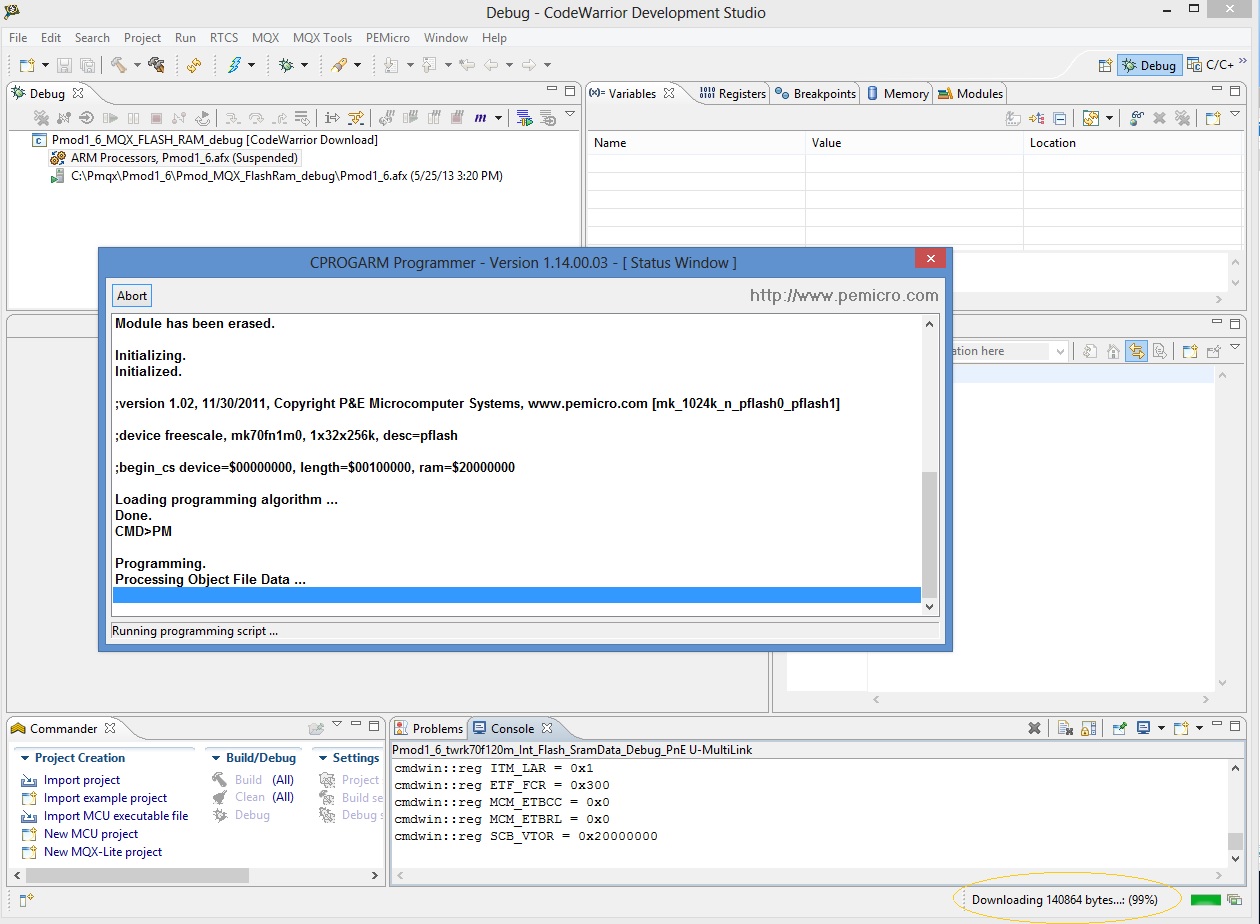
Click on bug icon red-circled. Popup menu will open. Select “Pmod1_6_MQX_FLASH_RAM_debug” and click
- Click again “bug” icon and debug will start with firmware download
during firmware download this tab will open
and when download finish you see the main debug windows of Codewarrior
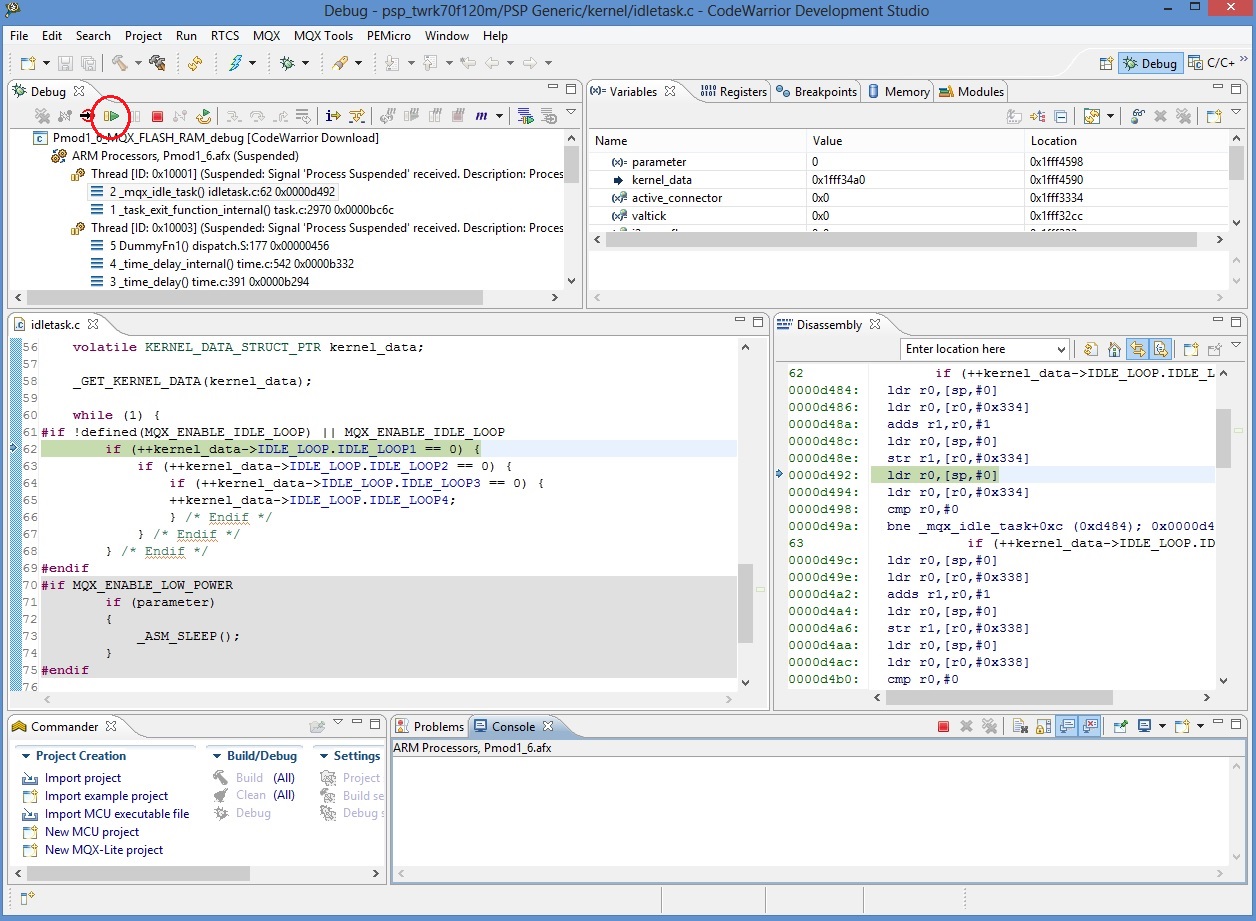
to start program you can press “F8” or click on Icon red-circled in image above
NOTE: for full Codewarrior functionallity please refer to Freescale Official Guide
Running Brooklyn Board MQX FW
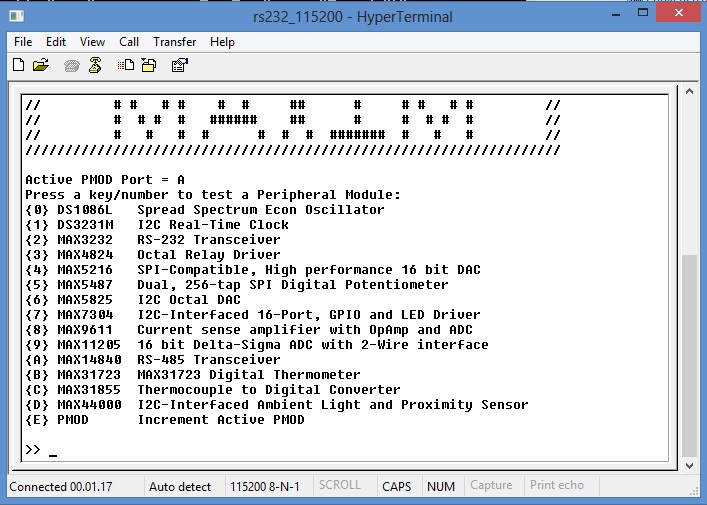
When you start program, in terminal window you can see for few seconds this screen
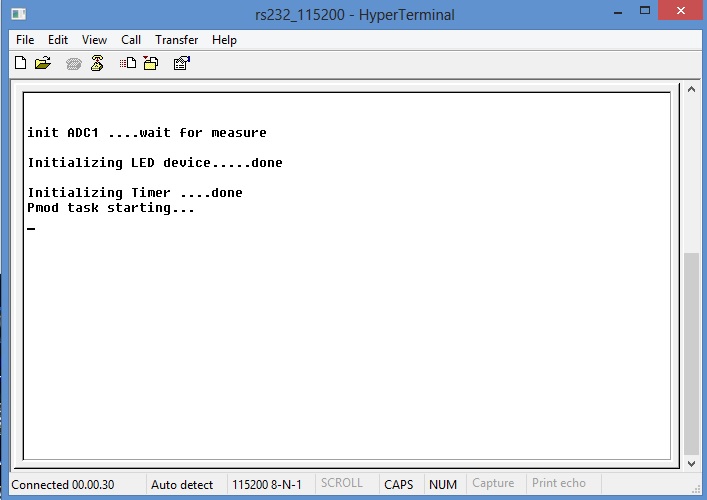
this screen will inform about task init and task start
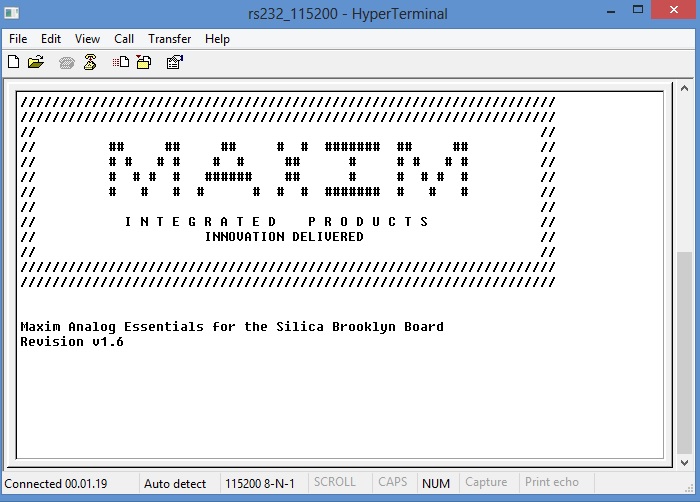
then, you see the Pmod start screen
and after you can see the main menu